
An event planning timeline built around real deadlines
The venue needs the menu count on one date; the decorator needs access to the room on another. Put those dates in the plan first. Then add the decisions you must make before each deadline. This gives you a schedule tied to your event rather than a long list of things to remember.
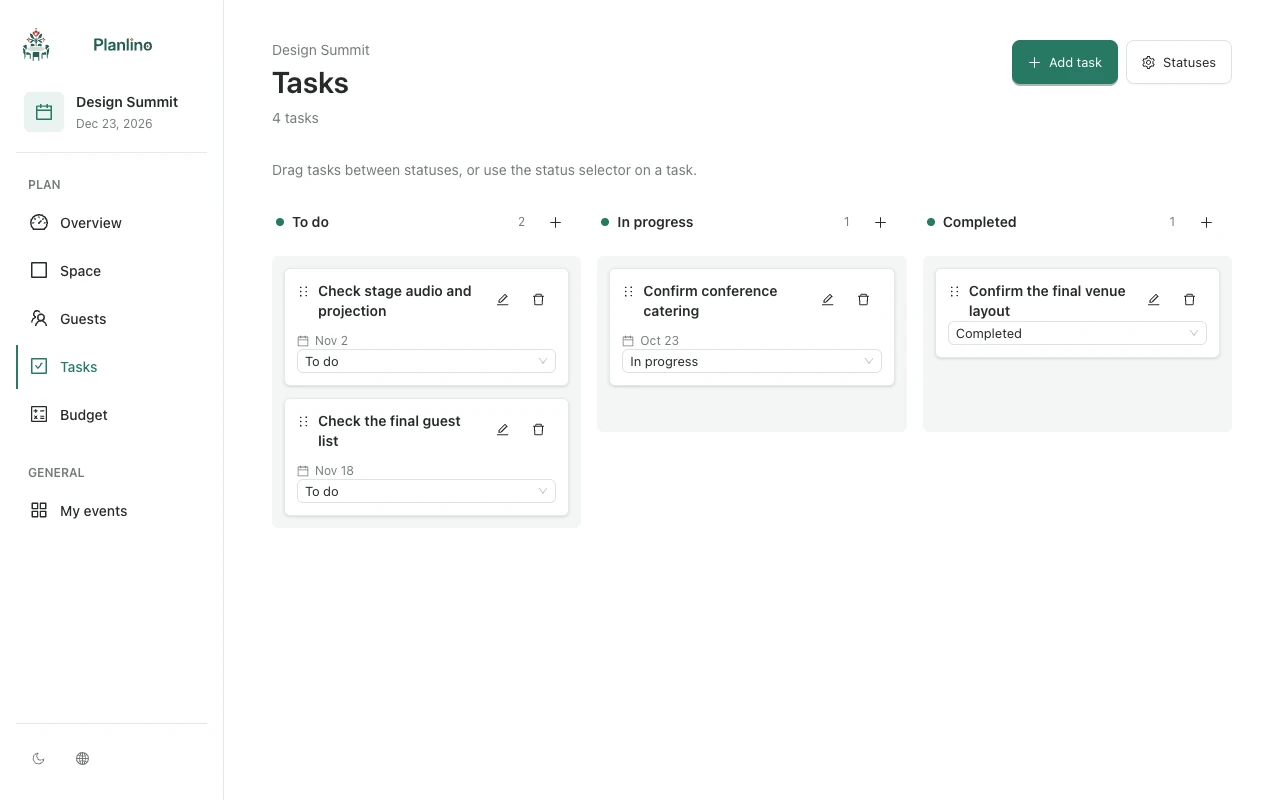
Connect decisions to the next handoff
Suppose, as an example, your venue needs a final menu count ten days before dinner. Set the task to send that count for the agreed day. Set an earlier task to confirm attendance, leaving the time you need to resolve unanswered invitations.
Then add the dependent actions: revise the guest list, check seating and confirm any change to the quote. The ten-day deadline is an example, not a universal rule; use the dates agreed with your own suppliers.
Write tasks that describe a finished action
In Planlino's Tasks page, add due dates and notes, and choose statuses such as To do, Waiting for confirmation and Done. Record who will follow up in the notes when several people are helping.
- Replace a vague task like Menu with Send confirmed menu count to venue.
- Include the contact and information needed for the handoff in the notes.
- Keep an unanswered request in a waiting status until you receive confirmation.
Review the board before the final week
Check unfinished tasks and dates regularly. Planlino's due dates are planning fields; they do not send reminder emails or push notifications. If you need an alert, arrange it separately in your own calendar.
For the event day, agree a separate running order with the team: arrival, setup, guest welcome and service times. Use the task board to track preparation and approvals, then keep the agreed running order with the current seating export and contacts. Back up your event after the final review.