
Your guest list is in Excel: prepare it for import
If you already have a guest list in Excel, there is no need to type every name again. Spend a few minutes tidying the spreadsheet first. One row per person makes the import easier to check and gives each guest a separate place in the seating plan.
Separate people before saving the file
A row reading Ana and Ion Popescu describes two people but imports as one guest name. Split it into Ana Popescu and Ion Popescu, then create their pair in Planlino after import.
Look for repeated names too. If two different guests have the same name, add a short identifying detail, such as their team. Duplicate names are skipped during import, so two identical rows will not give you two separate guest records.
Start with the downloadable template
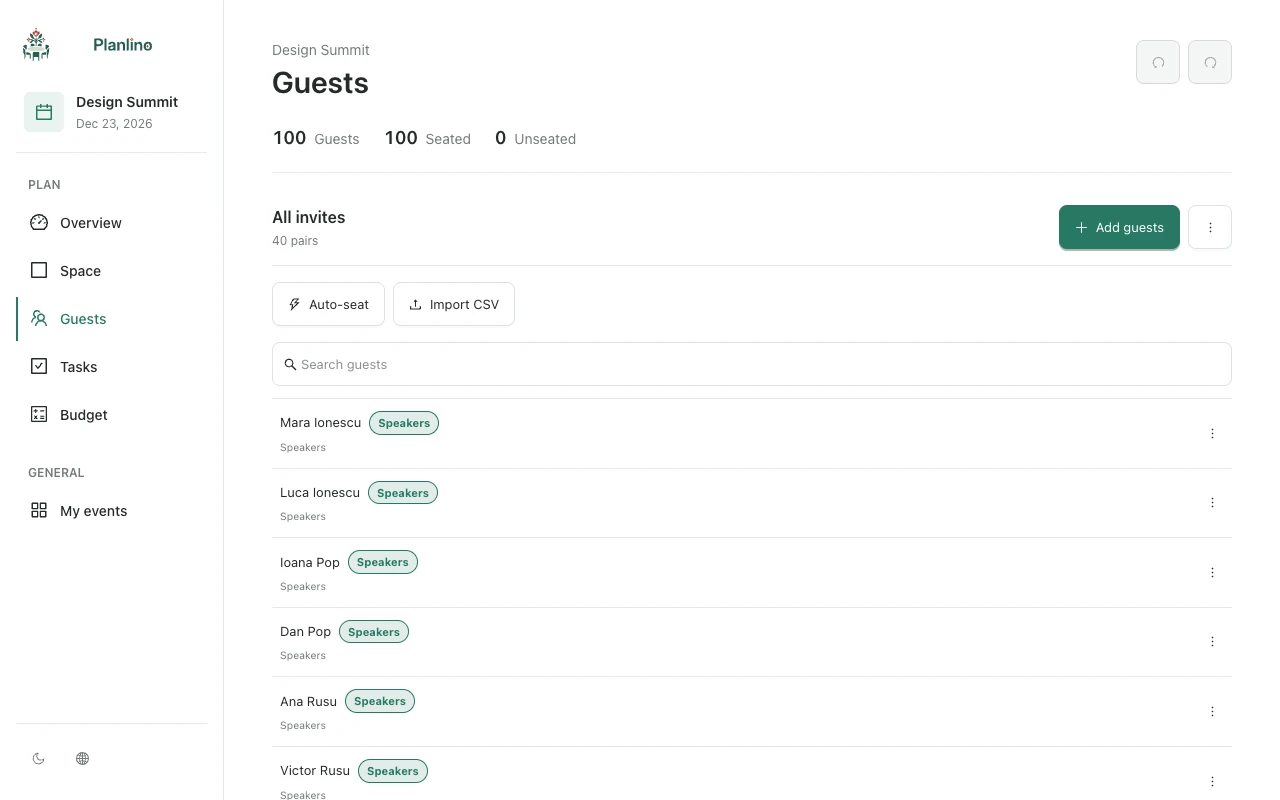
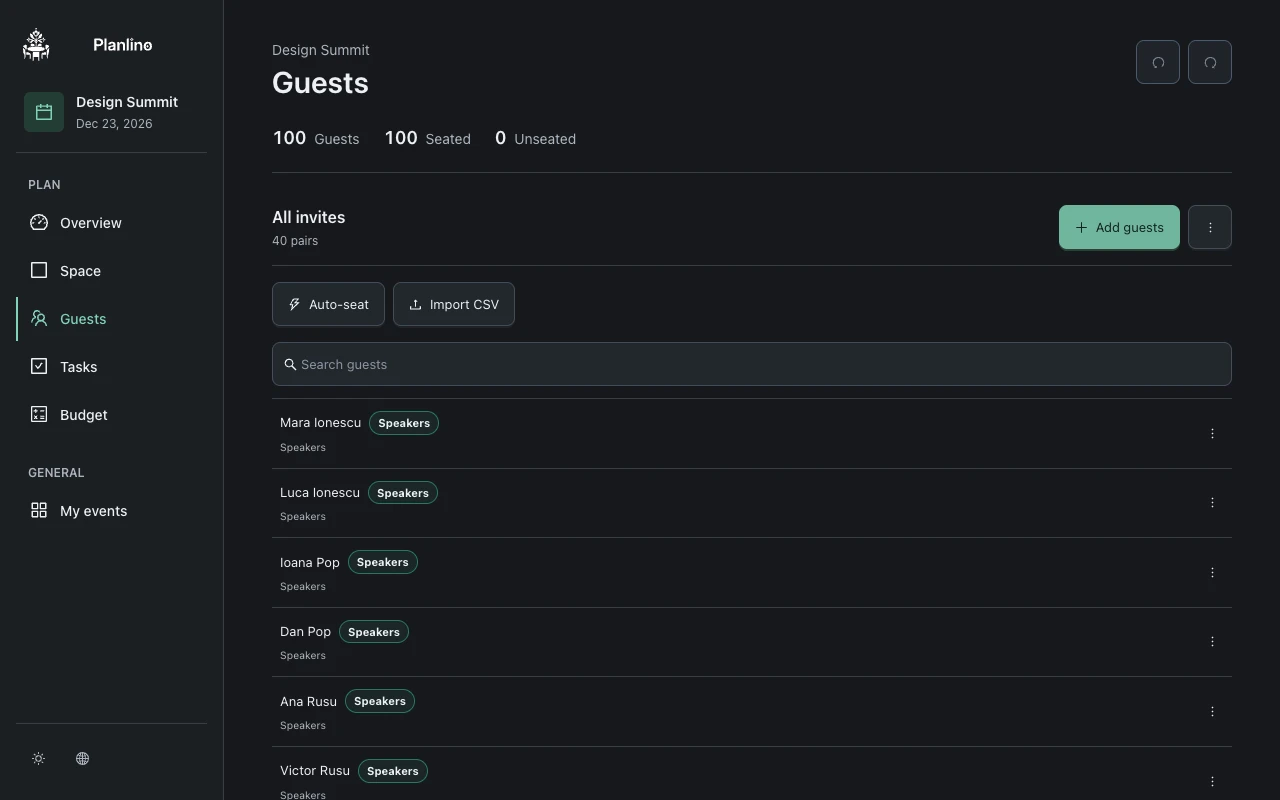
Open the CSV import example in Guests. Its name column holds the person's name; the optional label column can hold a group such as Family or Colleagues. Use this template to avoid guessing the column format.
- Save the sheet as a CSV file, preferably using UTF-8 to preserve accents and Cyrillic names.
- Choose the file in the guest import dialog and read the preview.
- Check a few names with accents, the groups and the number of people before confirming.
Check the result before assigning tables
If a file is rejected, correct it and try again; the rejected file does not change the existing list. After a successful import, check which names were added and which duplicates were skipped.
The CSV imports names and a group label, not the whole seating arrangement. Add any further labels or pairs in Guests, then open Space to assign places.